Audit Protocols
In addition to setting the Audit Types, the user must also set up the Protocols. Many of the selections are now hierarchical, which means there is a top level, second level, third level and so on (sometimes called a tree view). The user can drag and drop to move protocol categories and sections. The user may also add questions in the protocol section if desired.
Add / Edit Protocols
Adding protocols can be done two ways:
Using the upload tool
- The user navigates to Administration>Selections.
This function can only be performed by permissions associated to an Administration token.
- In the left pane under Auditor, select Protocols and Questions
- Select the icon to download the empty template.
- Save the template yo the local machine.
- Select the button to enable editing.
- Select the button to enable the macro content.
- Select the protocols tab.
- Enter a display name
- Mark the item Active(1) or Inactive(0)
- Save the template
- Return to the web site and select the upload template button
- Protocols must be uploaded into the system and then download the Template again to add questions. You can only add questions via the template to existing protocols.
One at a time
- The user navigates to Administration>Selections.
This function can only be performed by permissions associated to an Administration token.
- In the left pane under Auditor, select Protocols and Questions
- Click Add Protocol.
- A new entry window will open. Add the Title of the Protocol. If there are multiple languages click the globe icon on the right of the field to add.
- The check box above the grid will set the new selection to Active when checked. If the box is unchecked, the selection is set as Inactive.
- Click the Save Changes button. The new protocol will be displayed under Protocols list to the left of the entry window.
When the new Item is added, it will be displayed in the tree view to the left of the grid. Selections are not added alphabetically- the user can drag and drop Selections to change the order.
Selections cannot be deleted. Instead the user can make a Selection inactive by following step 9 above.
Add a Section
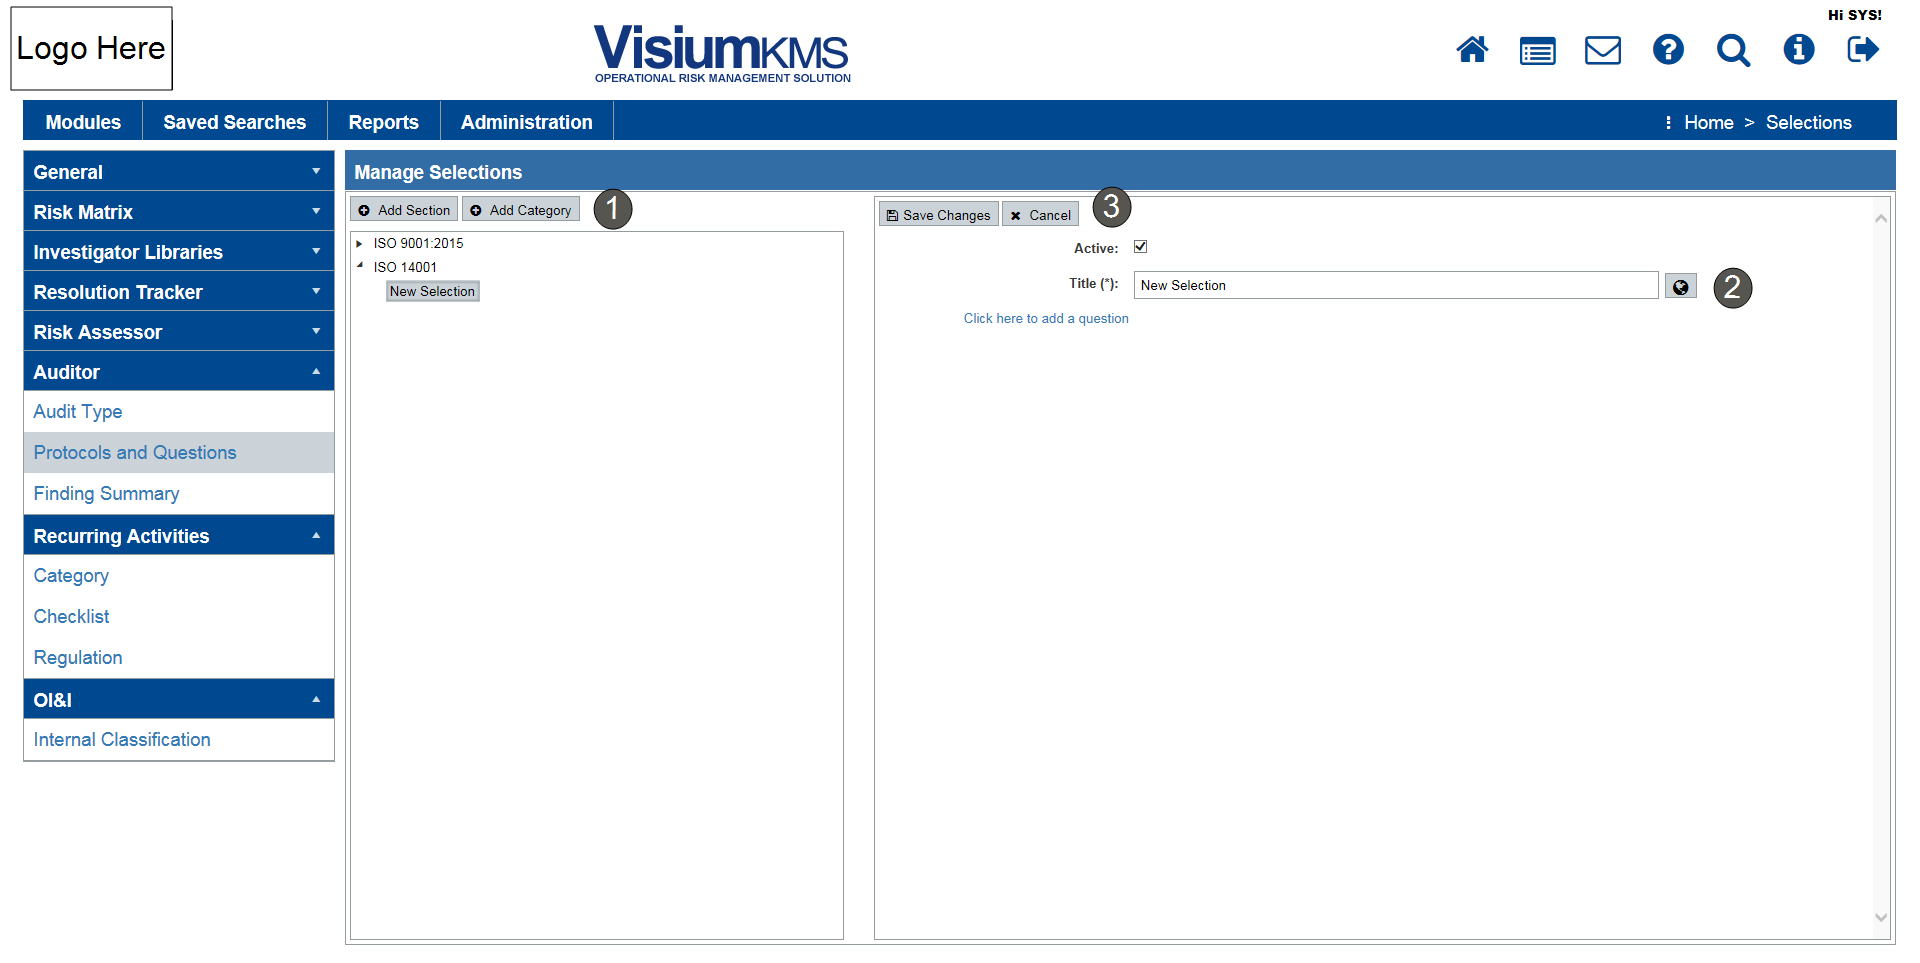
- Highlight the protocol and click on the Add Section button. A new entry window will open. Add the Title of the Section. If there are multiple languages click the globe icon on the right of the field to add.
- The check box above the grid will set the new selection to Active when checked. If the box is unchecked, the selection is set as Inactive.
- Click the Save Changes button. The new protocol will be displayed under Protocols list to the left of the entry window.
Add a Category
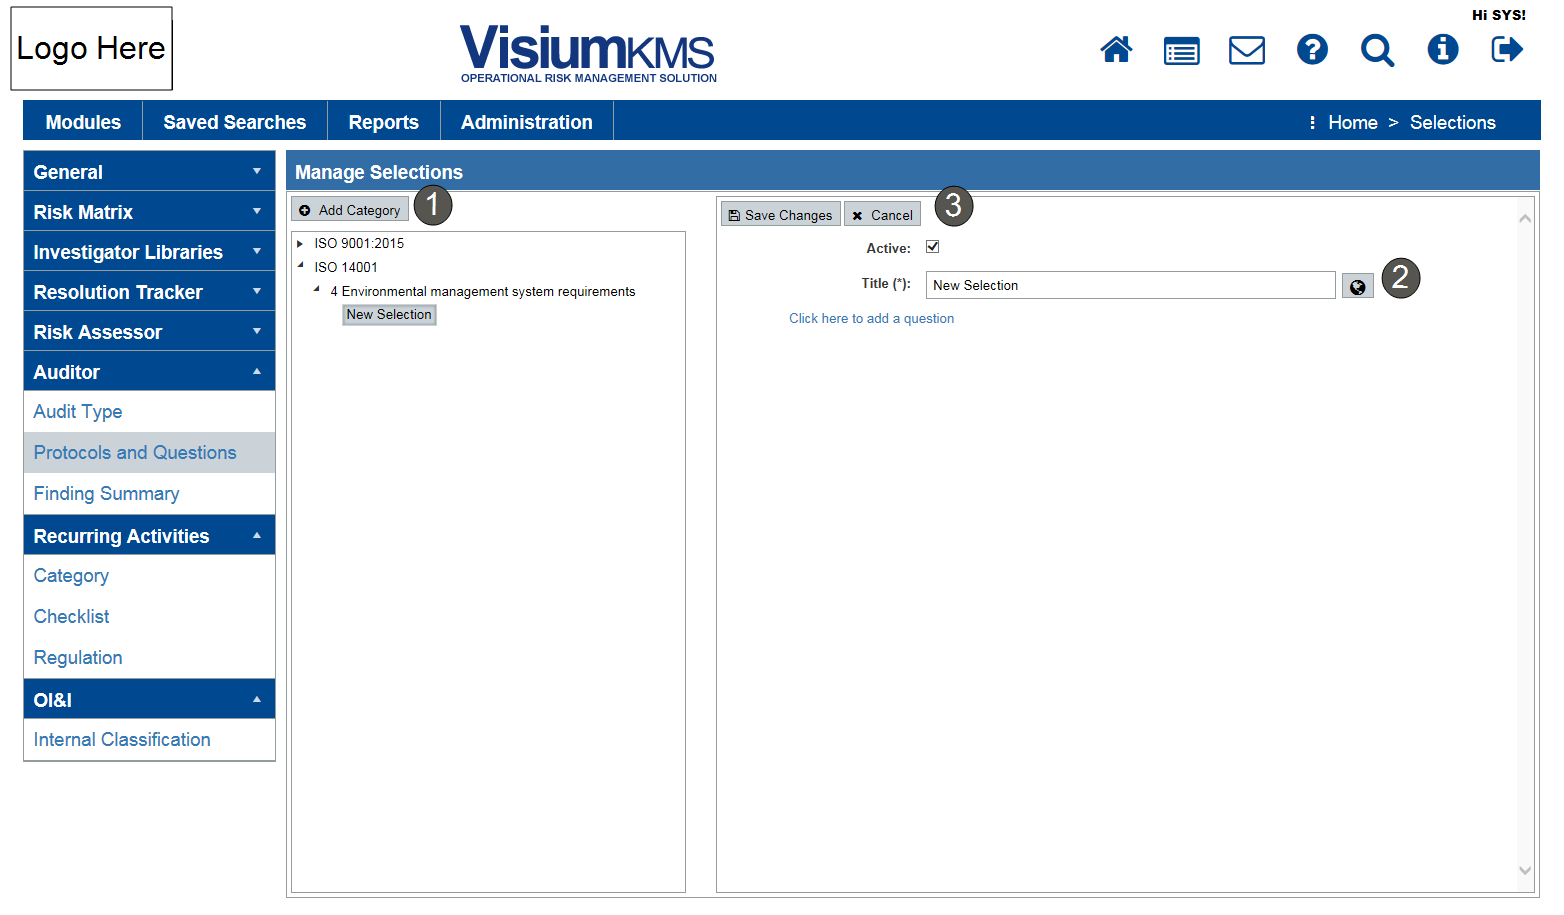
- Highlight the section and click on the Add Category button. A new entry window will open. Add the Title of the Category. If there are multiple languages click the globe icon on the right of the field to add.
- The check box above the grid will set the new selection to Active when checked. If the box is unchecked, the selection is set as Inactive.
- Click the Save Changes button. The new protocol will be displayed under Protocols list to the left of the entry window.