Auditor Upload Tool
The Auditor Upload Tool allows the user to upload audits which may have been entered in programs other than KMS. The user must have the associated permissions assigned to have the capability to perform this function. This tool is for the Auditor workflow.
The token will be under Manage Role Based Security>Administration tab>Auditor>Can-Upload-Download-Audit-Template token and must have Auditor permissions as any to download template.
Download Template
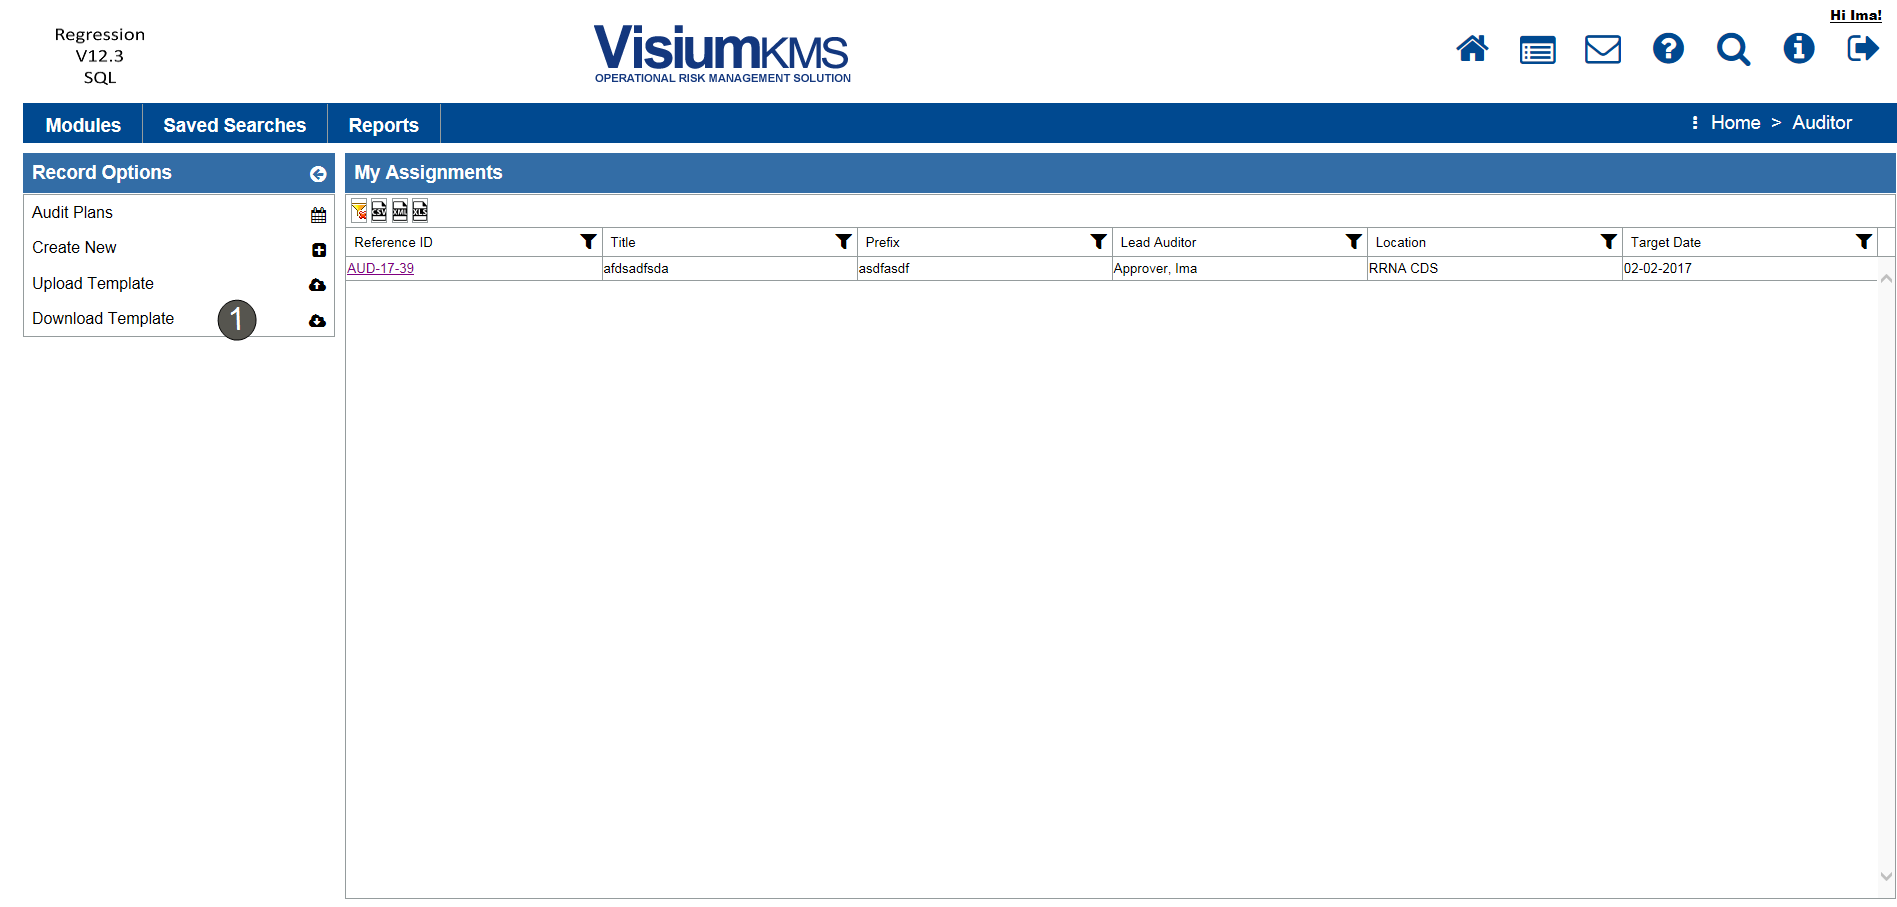
To download the template ensure the user has the correct permissions. Navigate to Auditor.
Under Record Options located to the left of the My Assignments, click Download Template.
User must have the token AUD-Proposal-Add to upload the template.
- A window will open Download Template. Using the drop down select the type.
- Click on the Location field. Select a location and click Ok
- Click the download icon to the left of the drop down.
- The user can open the AuditTemplate file or open the file from the download folder on the C: drive.
Entering Data in the Audit Template
The template has several tabs in the Excel Macro enabled spreadsheet (.xlsm). The ones that will need to be filled in for the Auditor are:
- Details
- Protocols & Questions
- Team Members
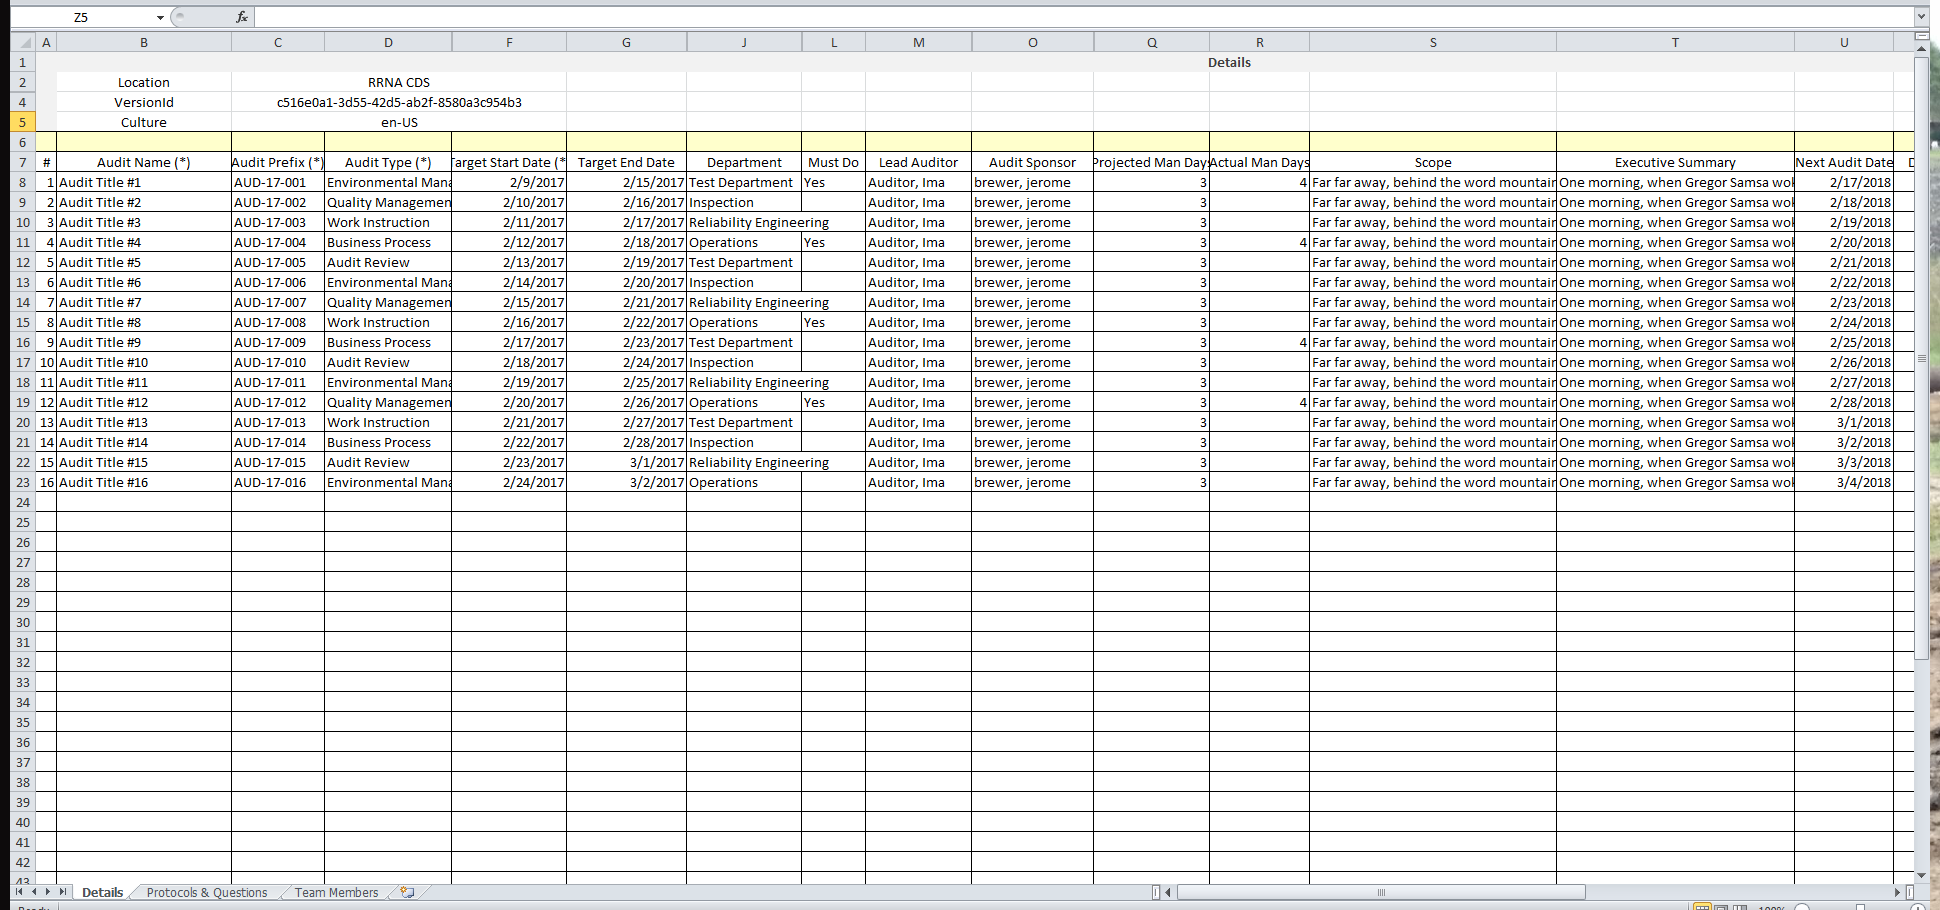
Entering Details
- Enable the content to be edited on the .xlsm
- Fill in the Template. Column A is where the user will fill in the number.
- Enter the Audt Name - this is a required field
- Enter the Audit Prefix - this is a required field
- Using the drop down select the Audit Type - this is a required field
- Enter the Target Start Date - this is a required field
- Using the drop down select the Department
- Using the drop down select the Lead Audit
- Using the drop down select the Audit Sponsor
- Enter the Project Man Days
- If the audit has been completed, enter the Actual Man Days
- Enter the Scope of the Audit
- If the audit has been conducted, enter the Executive Summary
- Enter the Next Audit Date if applicable
- Enter the Draft Report Record (if audit has been conducted) date
- Enter the Final Report Record (if audit has been conducted and ready to close) date
- If the audit is Confidentail use the drop down to select Yes
- If an Audit Risk Ranking Matrix has been configured, use the drop down to select each of the risk rankings
- Save the template.
The completed template for details will look like this:
Entering Protocols & Questions
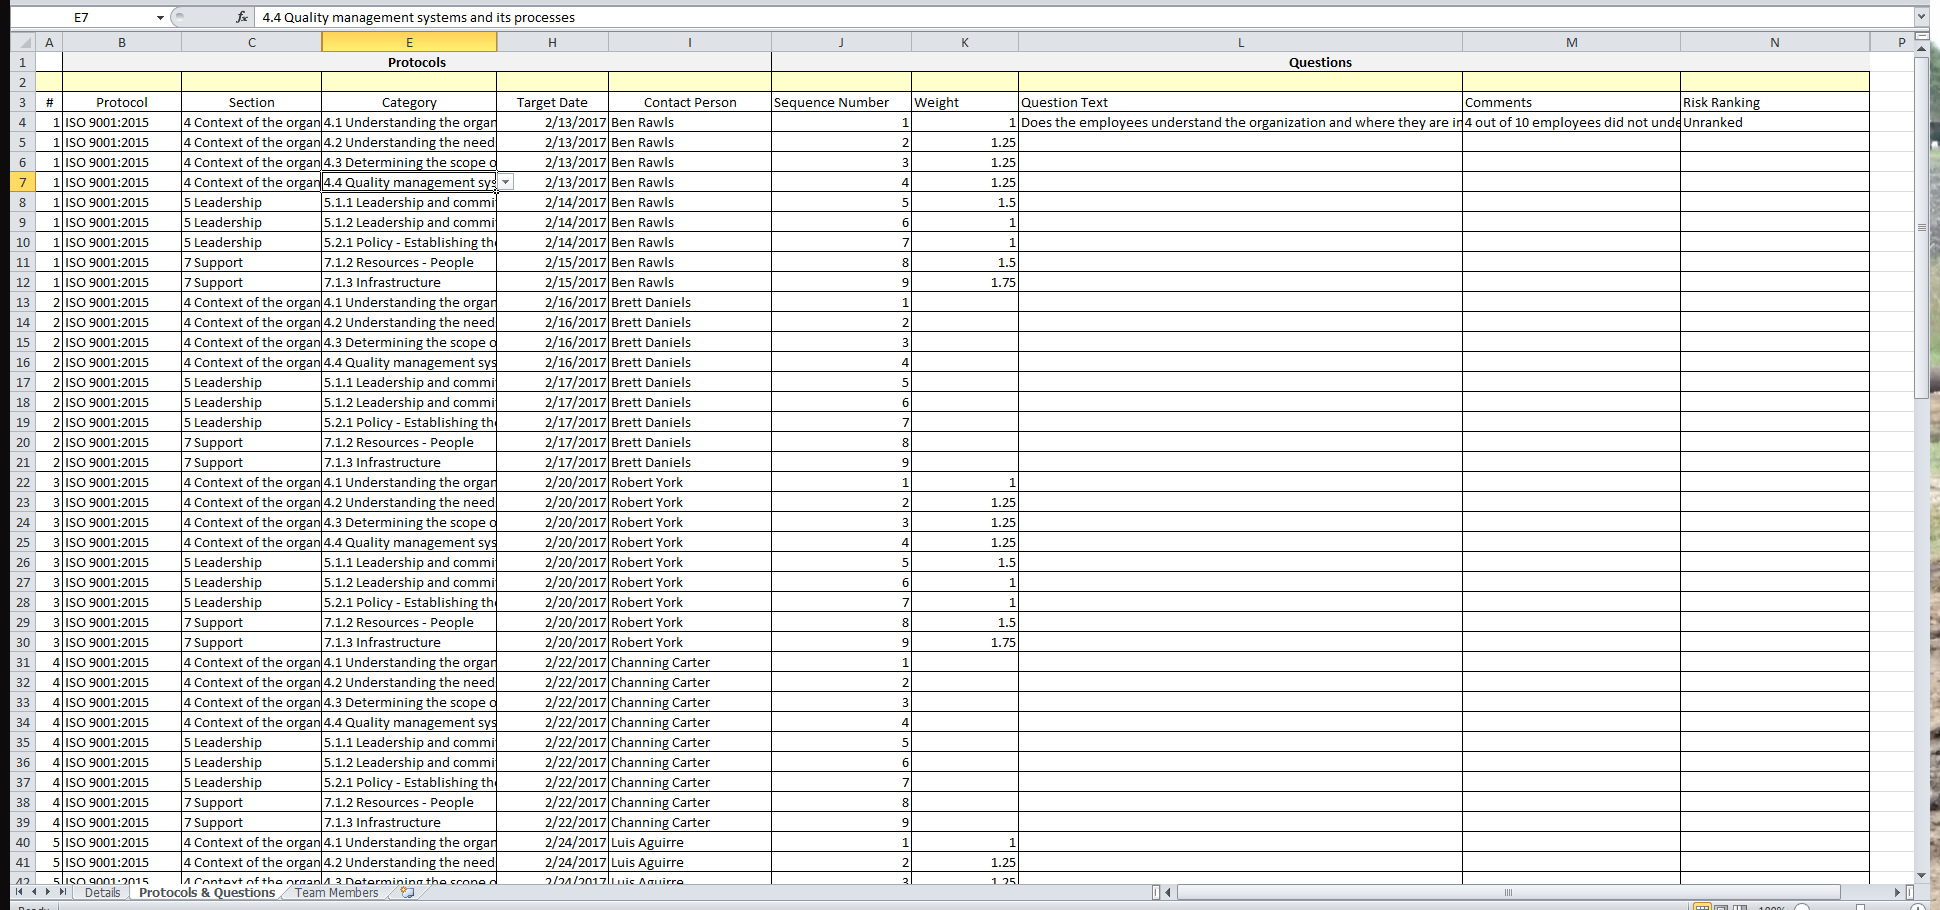
Protocols & Questions can be added to the audit through the Protocols & Questions Tab.
- Click on the tab Protocols & Questions
- Enter the number of the audit to add protocols and questions - this must correlate the # column on the details tab
- Using the drop down select the Protocol
- Using the drop down select the Section
- Using the drop down select the Category
- Enter the Target Date
- Enter the Contact Person
- Enter the Sequence Number (question number)
- Enter the Weight if applicable (questions can be weighted based on importance)
- Enter the Question Text
- Enter any Comments
- Using the drop down select the Risk Ranking
- Save the template
Here is what a completed protocols and questions workbook will look:
Entering Team Members
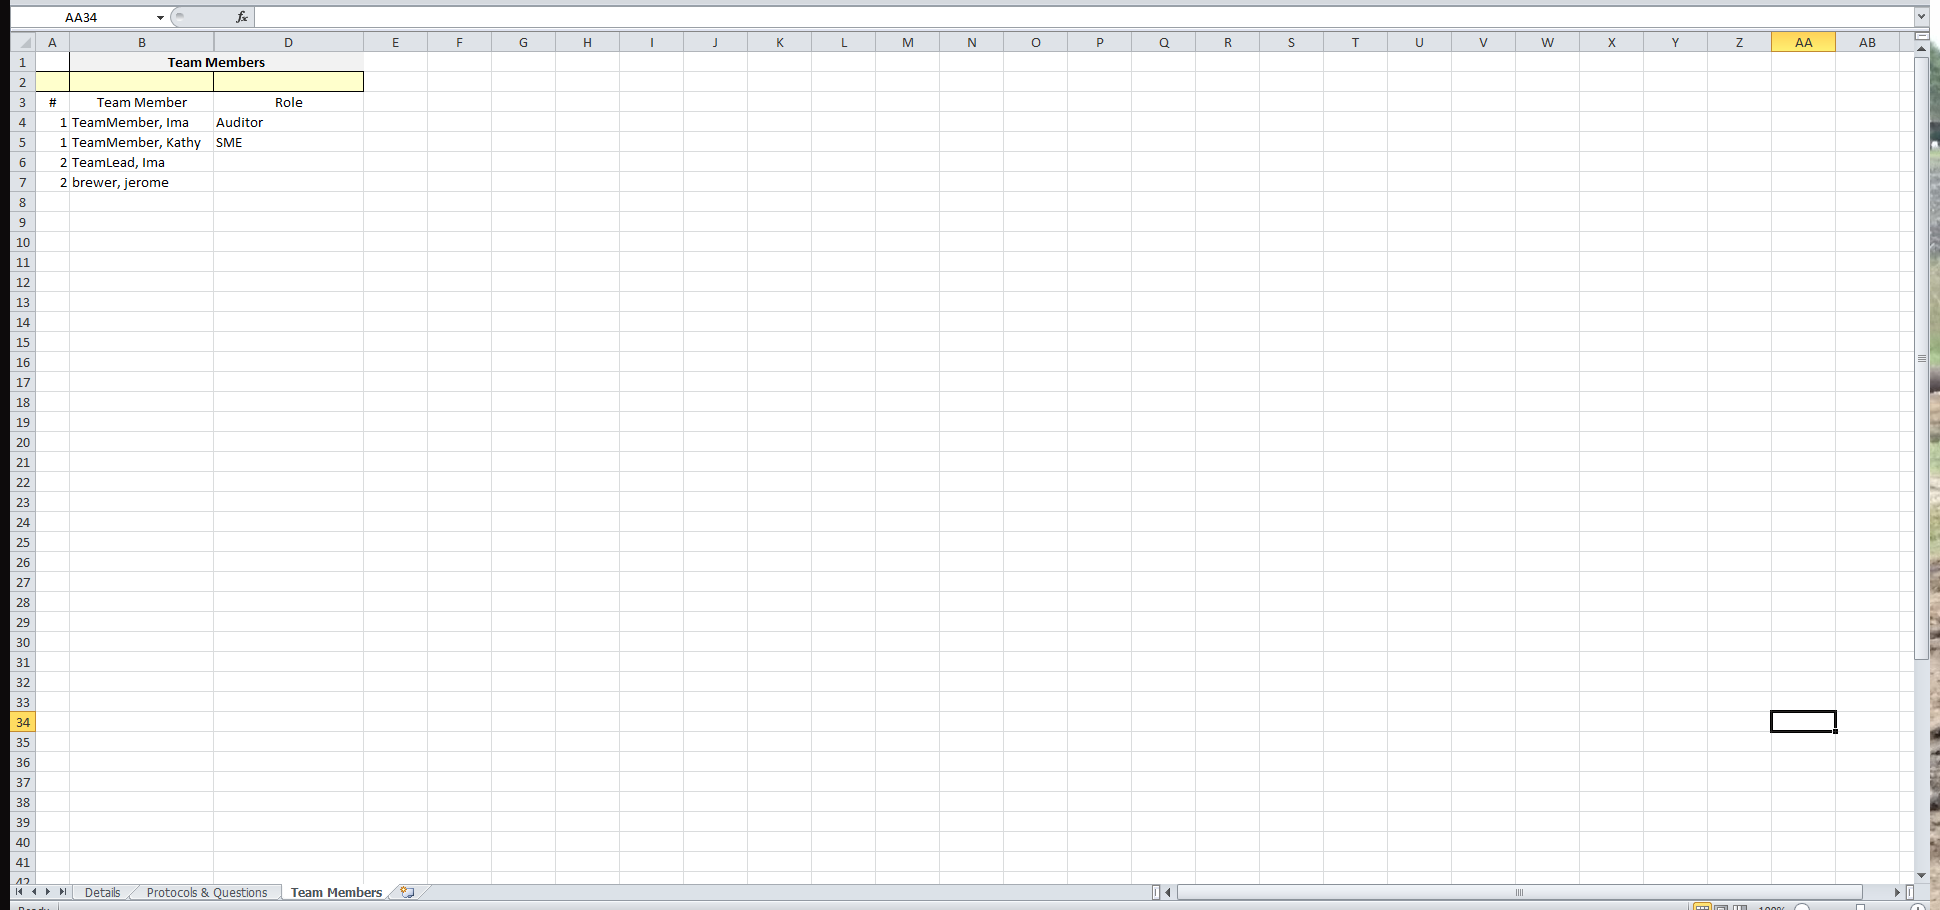
Additional team members can be added to the audit by using the Team Members Tab.
- Add the audit number to the # column
- Using the drop down, select the Team Member
- Enter the Role that the team member will have in the audit.
- Save the template
The Team Member page will look like this:
Upload the Template
Once the downloaded Template is completed and saved. The user will want to upload the information into the database. Use the following steps to complete the upload:
- Navigate to Auditor
- Under Record Options, select Upload. A new window will open
- Click on the button to upload the file - this is a required step. The file the user will upload is the Download Template that was filled in from the previous section of the Help Guide.
- Highlight the file and Click Open.
If there are any error, the errors will be displayed in the Validation Message Box.
The user will go back to the template fix any of the errors and upload again.